Appearance
How to Integrate reCAPTCHA
Last update: 05 Nov 2024
Follow the steps below to enable Google reCAPTCHA in UltimateQR Lite.
Step 1: Create a reCAPTCHA
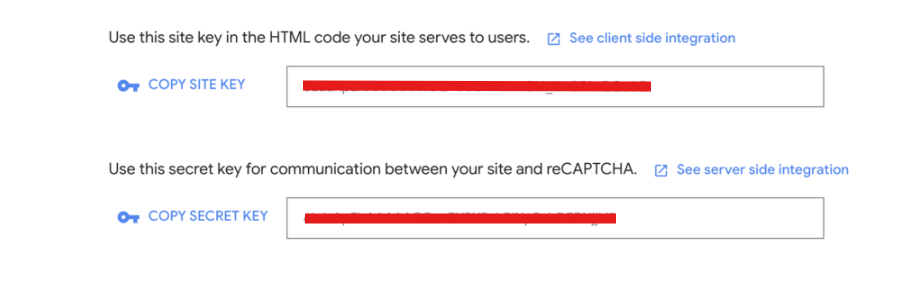
Visit the Google reCAPTCHA console and create a reCAPTCHA v2 Checkbox.
Copy the following credentials:
- Site Key
- Secret Key
Step 2: Configure reCAPTCHA from the Admin Panel
Log in to your UltimateQR Lite Admin Panel and navigate to:
Settings -> General Settings -> Webtools and Google Configuration Settings
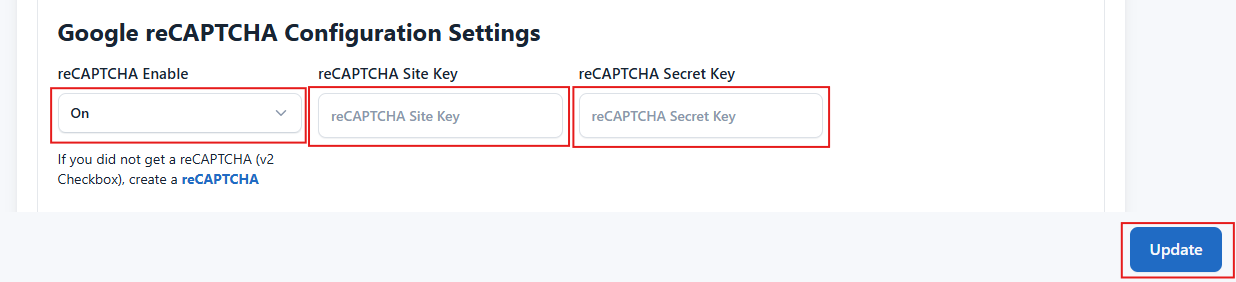
Enter your:
- Site Key
- Secret Key
Enable reCAPTCHA, then click Update Changes.
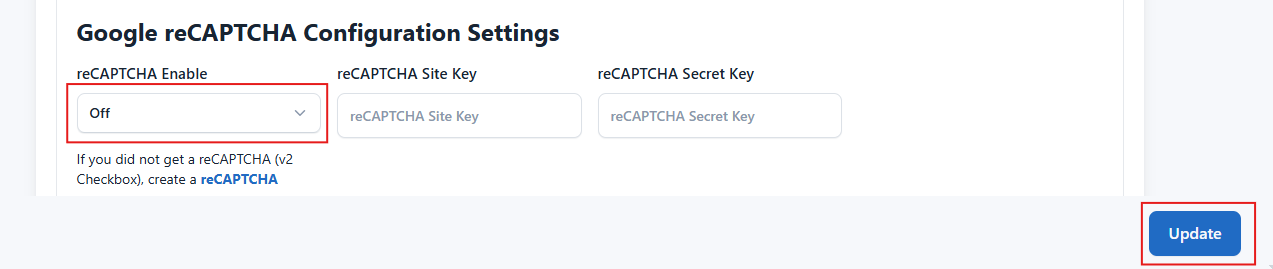
Disable reCAPTCHA
If you don't want to use Google reCAPTCHA, navigate to:
Settings -> General Settings -> Webtools and Google Configuration Settings
Set reCAPTCHA Enable to OFF, then save your changes.