Appearance
How to Configure Wasabi S3
Last update: 02 Nov 2024
Follow the steps below to configure Wasabi S3 as the storage provider in Optimer.
Step 1: Create a Wasabi Account
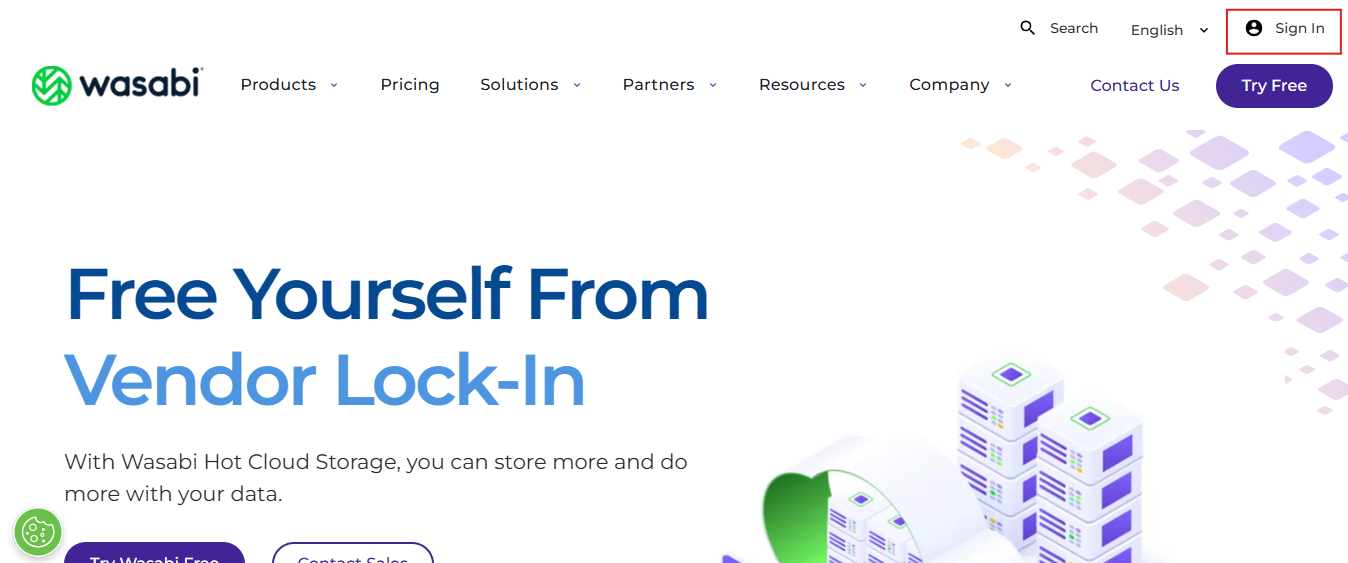
Go to:
Sign in to your Wasabi account. If you don't have one, create a new account and complete the billing setup.
Step 2: Create a Bucket
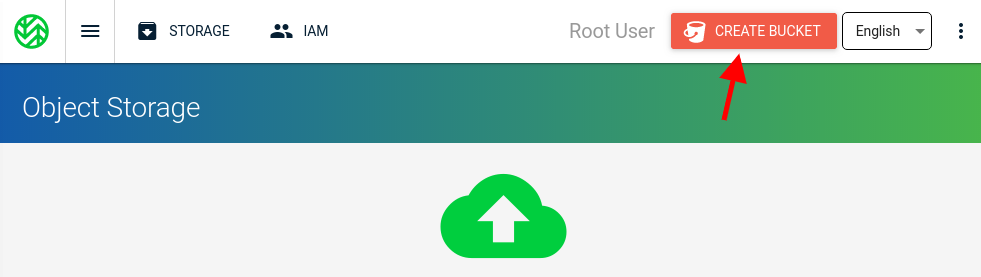
Log in to the Wasabi Management Console.
Click Create Bucket.
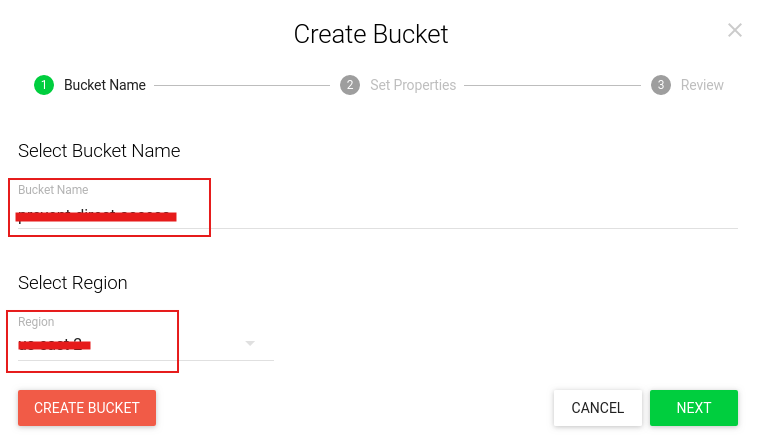
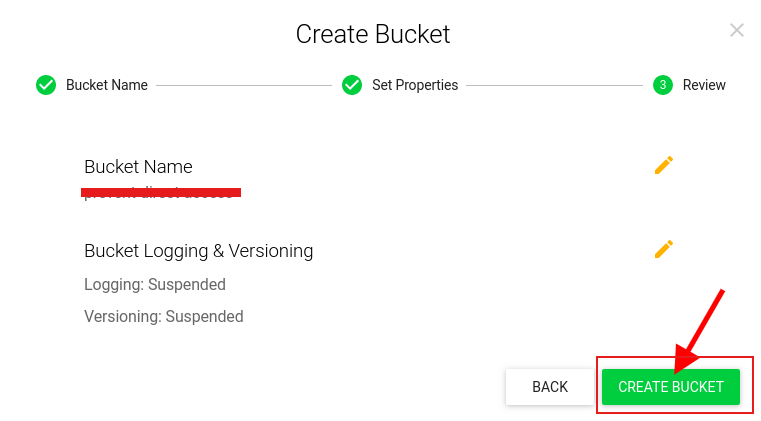
Step 3: Configure the Bucket
Enter the following details:
- Bucket Name
- Region
Then create the bucket.
Step 4: Create an IAM User
Open the menu in the Wasabi Management Console and navigate to:
Users
Click Create User.

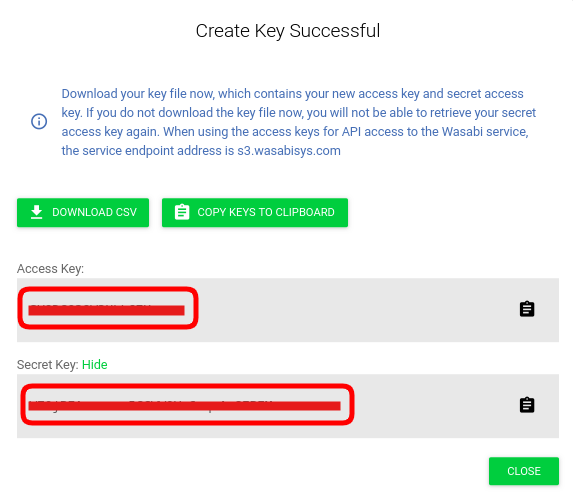
Step 5: Copy the Access Keys
After the user is created, download or copy the following credentials:
- Access Key ID
- Secret Access Key
Step 6: Configure Wasabi S3 in the Admin Panel
Log in to your Optimer Admin Panel and navigate to:
Settings -> General Settings -> Wasabi S3 Configuration Settings
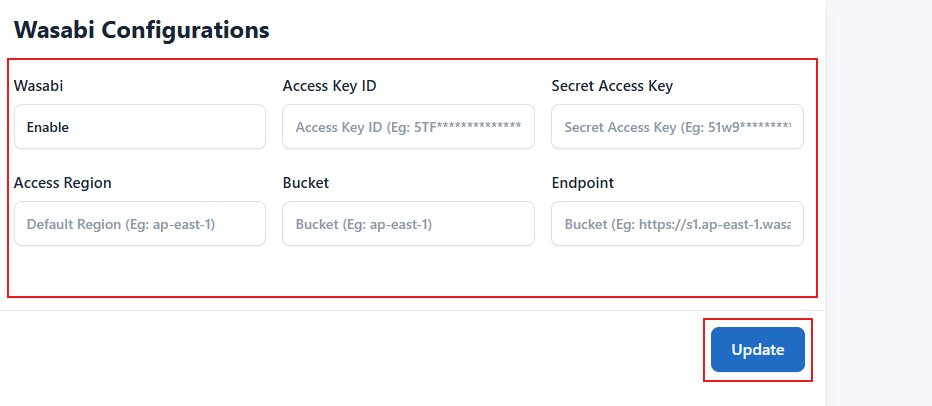
Fill in the following details:
- Wasabi Enable: ON
- Access Key ID
- Secret Access Key
- Default Region
- Bucket Name
- Endpoint
Use the following endpoint format:
text
https://s3.YOUR_BUCKET_REGION.wasabisys.comReplace YOUR_BUCKET_REGION with your actual Wasabi region.
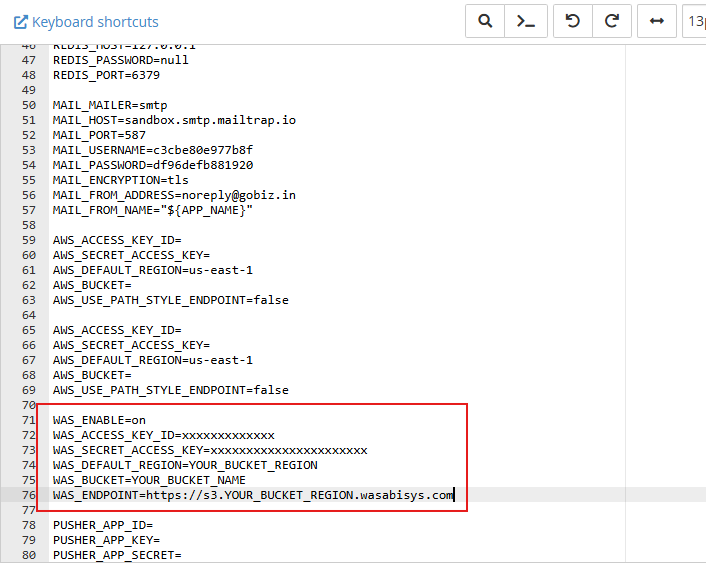
Step 7: Configure Wasabi S3 Using the .env File (Optional)
You can also configure Wasabi S3 by updating the Wasabi environment variables in your project's .env file.
Save the file after updating the values.