Appearance
How to Integrate Google Sign-in
Last update: 02 Nov 2024
Follow the steps below to enable Google Sign-in in Optimer.
Step 1: Create a Google Cloud Project
Open the Google Cloud Console and create a new project:
https://console.developers.google.com/projectcreate
Step 2: Create an OAuth Client ID
After creating the project, make sure it is selected.
Open the Credentials page:
https://console.developers.google.com/apis/credentials
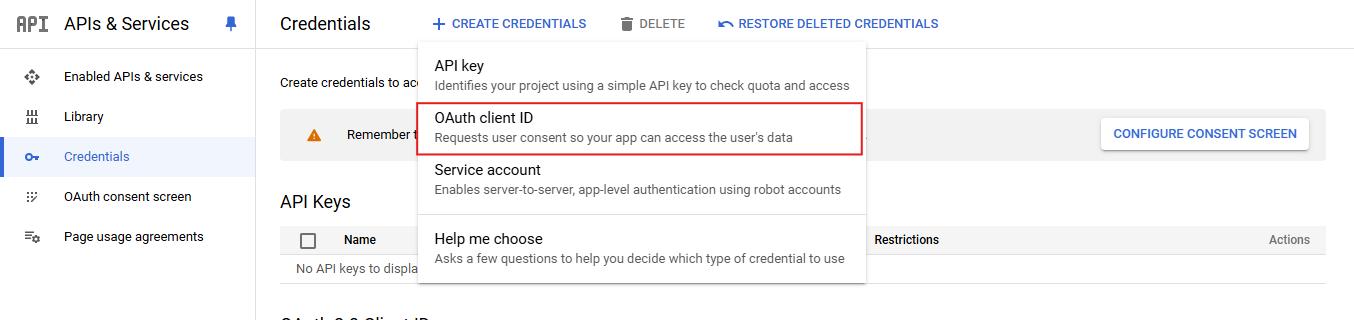
Click Create Credentials and select OAuth Client ID.
Step 3: Configure the OAuth Consent Screen
Configure the OAuth Consent Screen for your application.
Complete the required information and save your changes.

Step 4: Copy the Client ID and Client Secret
After creating the OAuth client, copy the following credentials:
- Client ID
- Client Secret

Step 5: Add the Redirect URI
Under Authorized redirect URIs, add the following URL:
text
https://YOUR-DOMAIN.com/sign-in-with-googleReplace YOUR-DOMAIN.com with your actual domain name.
Save the changes.

Step 6: Configure Google Sign-in from the Admin Panel
Log in to your Optimer Admin Panel and navigate to:
Settings -> General Settings -> Webtools and Google Configuration Settings
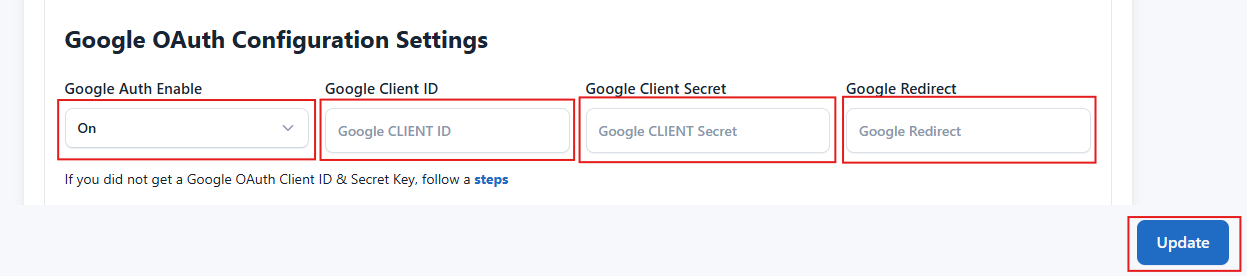
Enter your:
- Client ID
- Client Secret
Enable Google Authentication, then click Update Changes.
Disable Google Sign-in
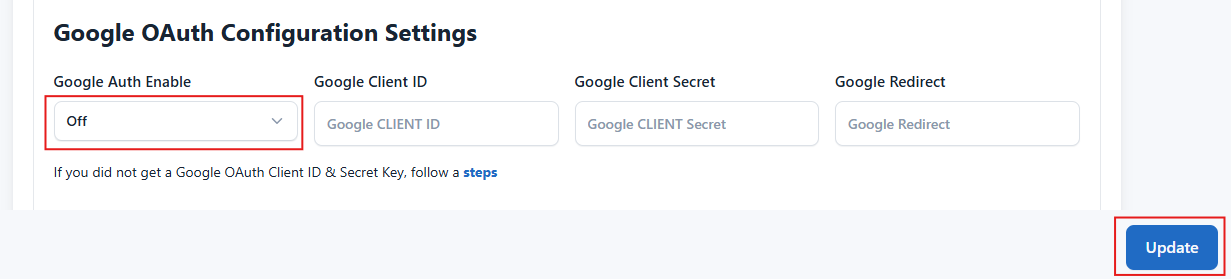
If you don't want users to sign in with Google, navigate to:
Settings -> General Settings -> Webtools and Google Configuration Settings
Set Google Auth Enable to OFF, then save your changes.