
Appearance
MSG91 WhatsApp Notification Configuration
Follow the steps below to configure the MSG91 WhatsApp Notification plugin and enable WhatsApp notifications.
Step 1: Create an Auth Key
Log in to your MSG91 account.
Open the Authkey section from the top navigation bar or from the user profile menu.
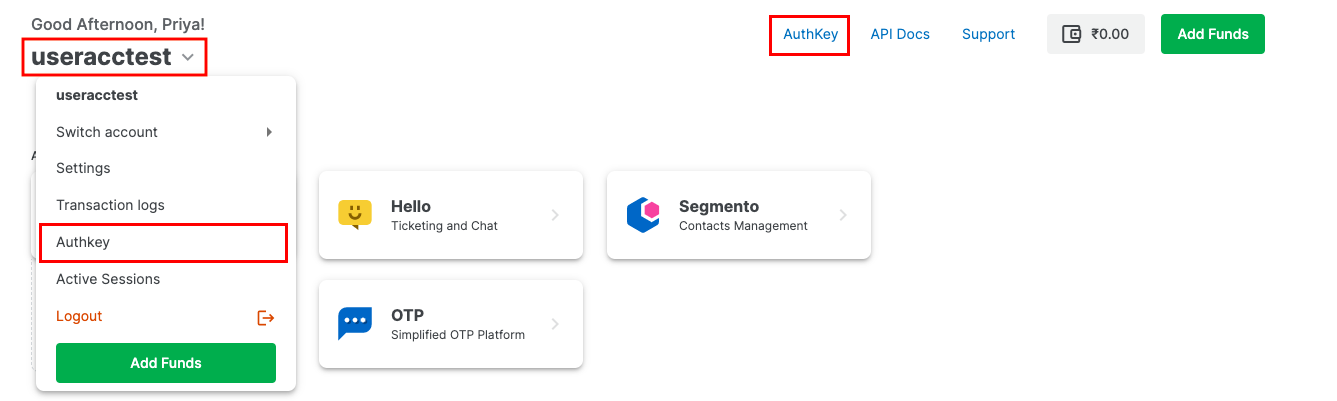
Click Create New to generate a new Auth Key.
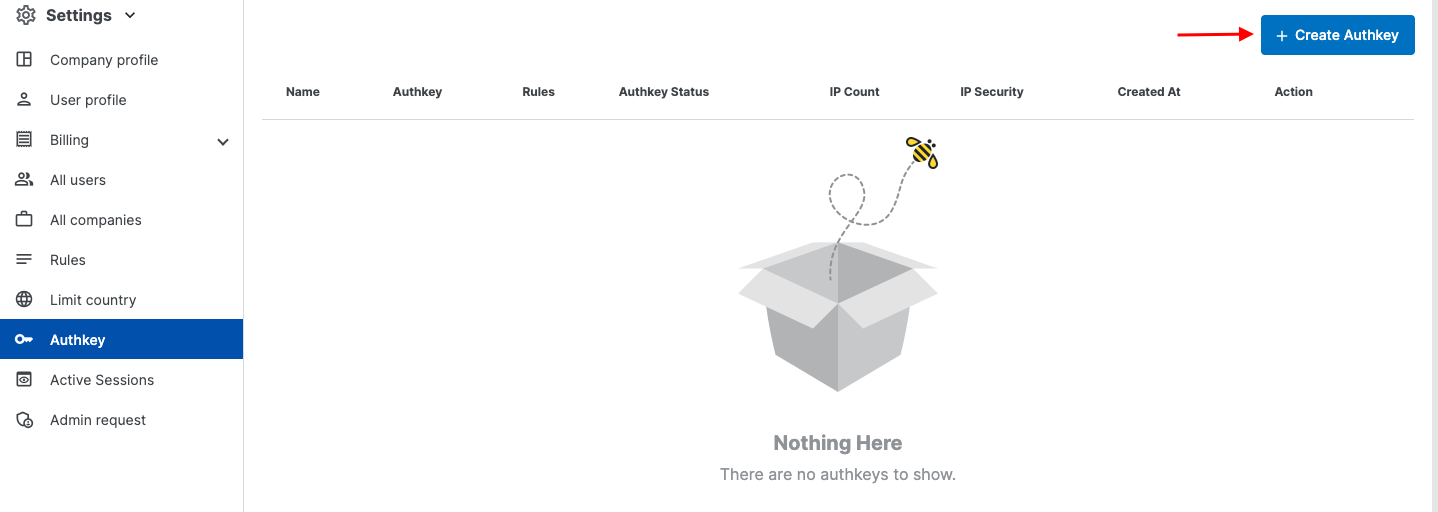
Fill in the required information:
- Authkey Name: Enter a name for the Auth Key. Avoid using special characters.
- Use Case: Select where you are integrating MSG91 or create a new use case.
- Rule Selection: Choose a rule from the Rules dropdown. You can also create a new rule under Settings -> Rules.
- IP Security: IP security is enabled by default. You can disable it if required. If enabled, whitelist your server IP address.
After completing the form, click Create.
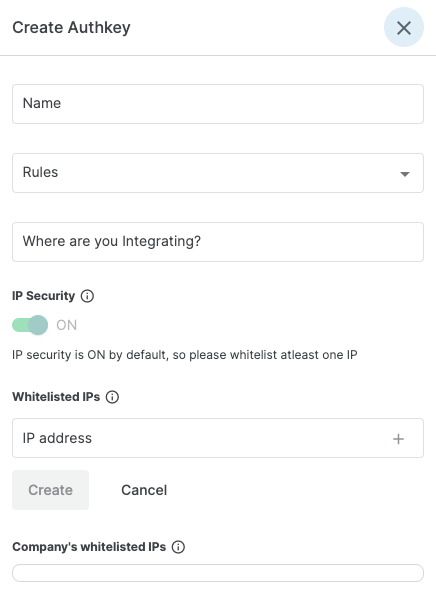
Copy the generated Auth Key.
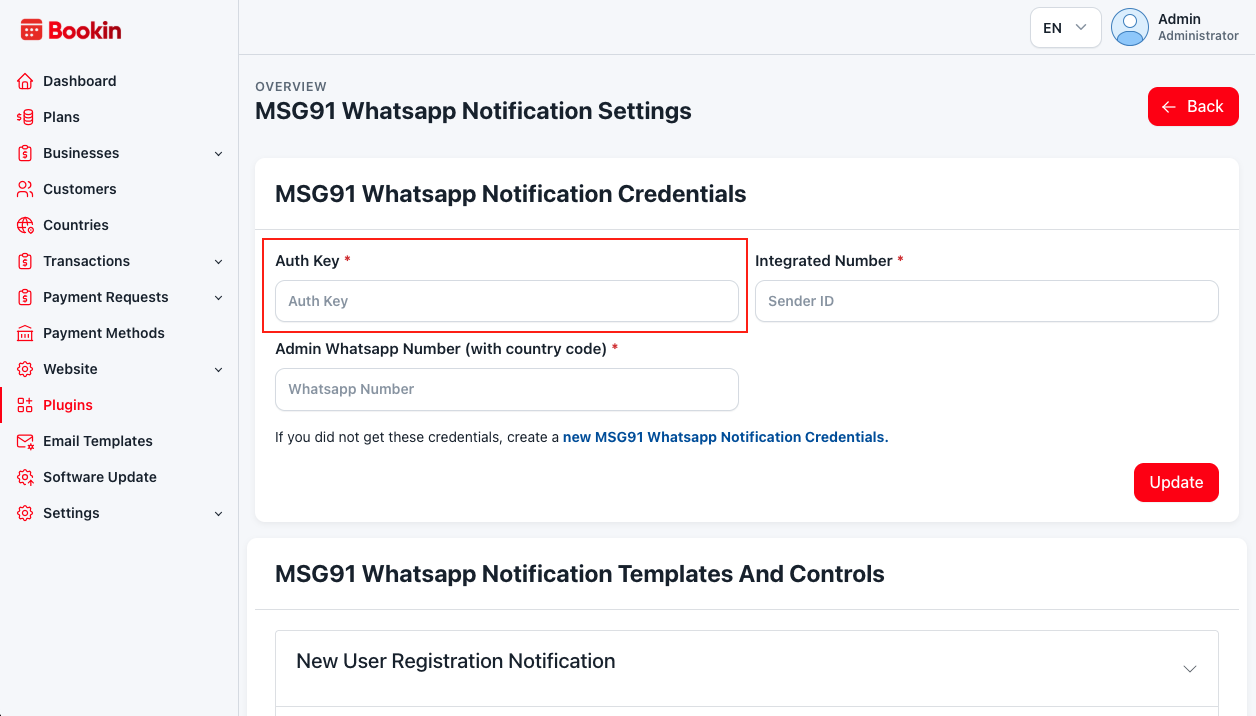
Log in to your Bookin Admin Panel, navigate to:
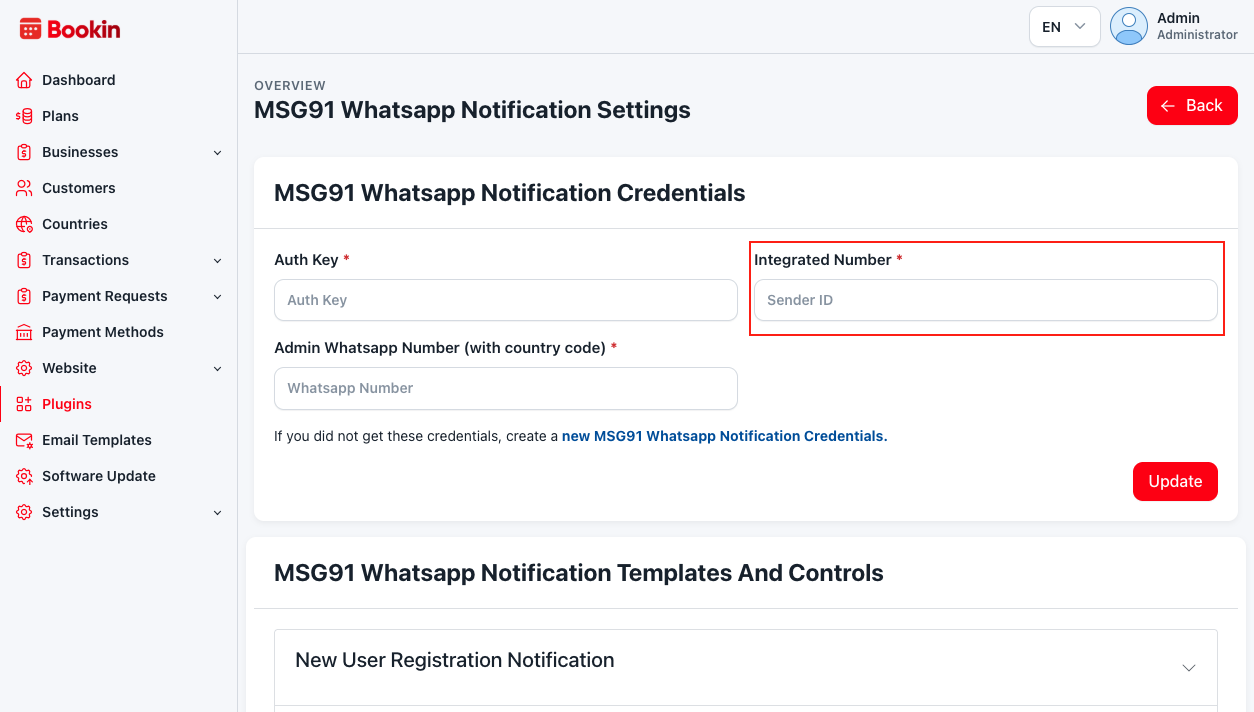
Plugins -> MSG91 WhatsApp Notification -> Settings
Paste the Auth Key into the appropriate field.
Step 2: Create a WhatsApp Number
In your MSG91 Dashboard, open the WhatsApp section.
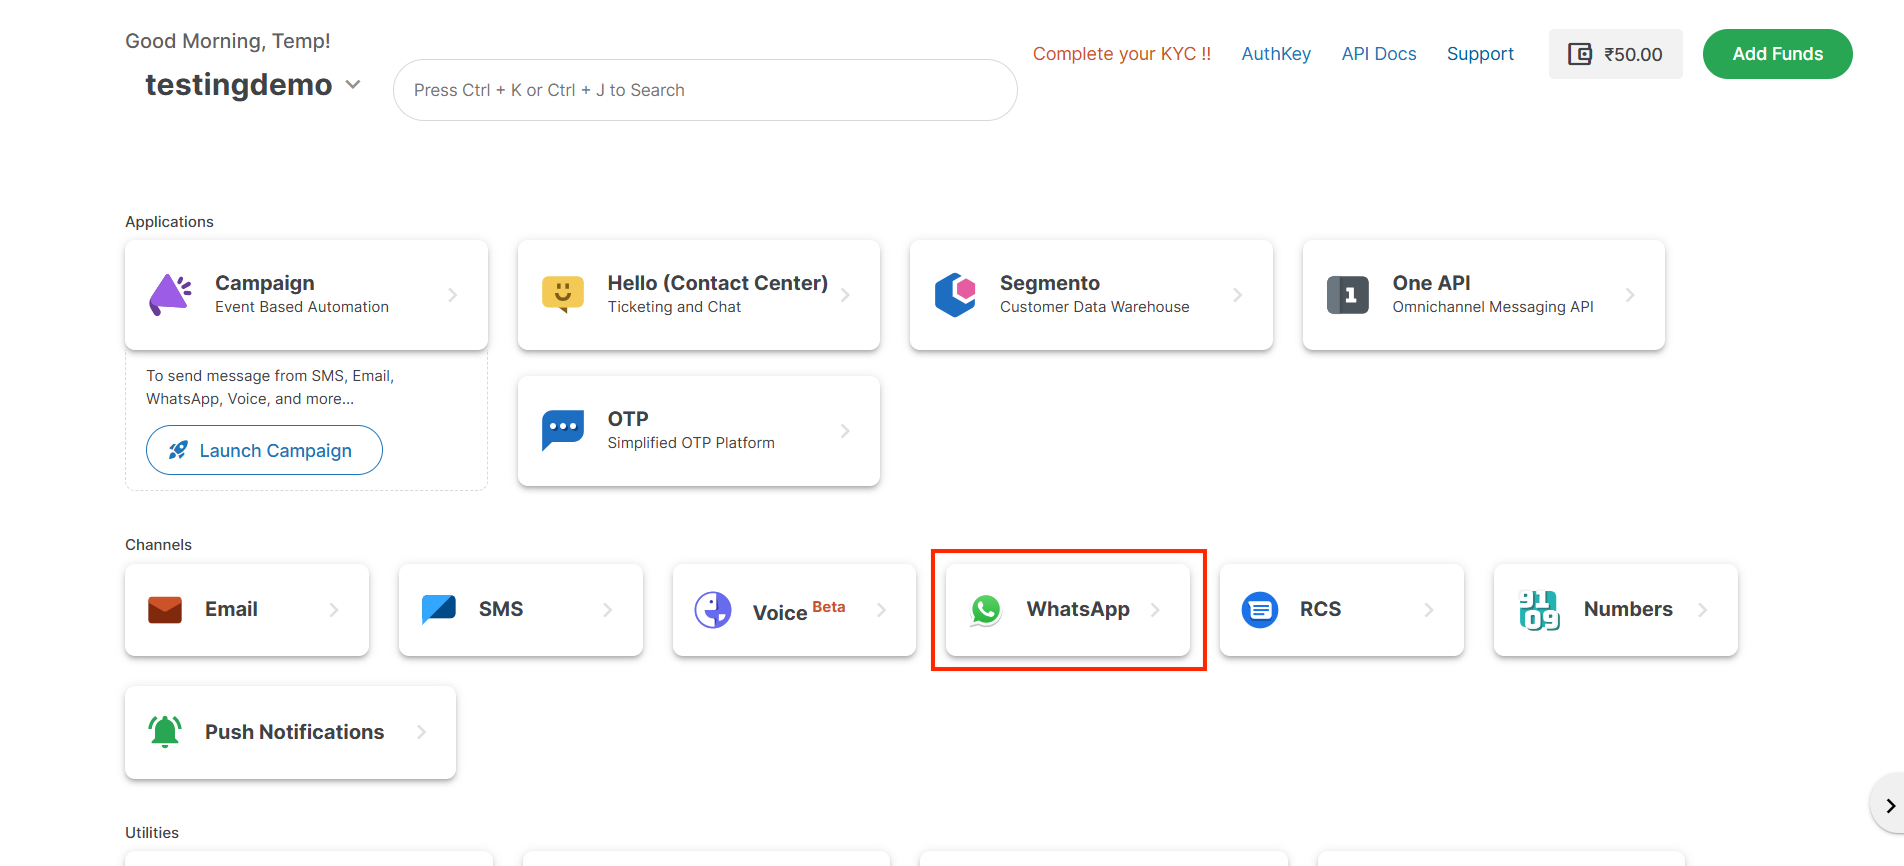
Click Add Number and create your WhatsApp number.
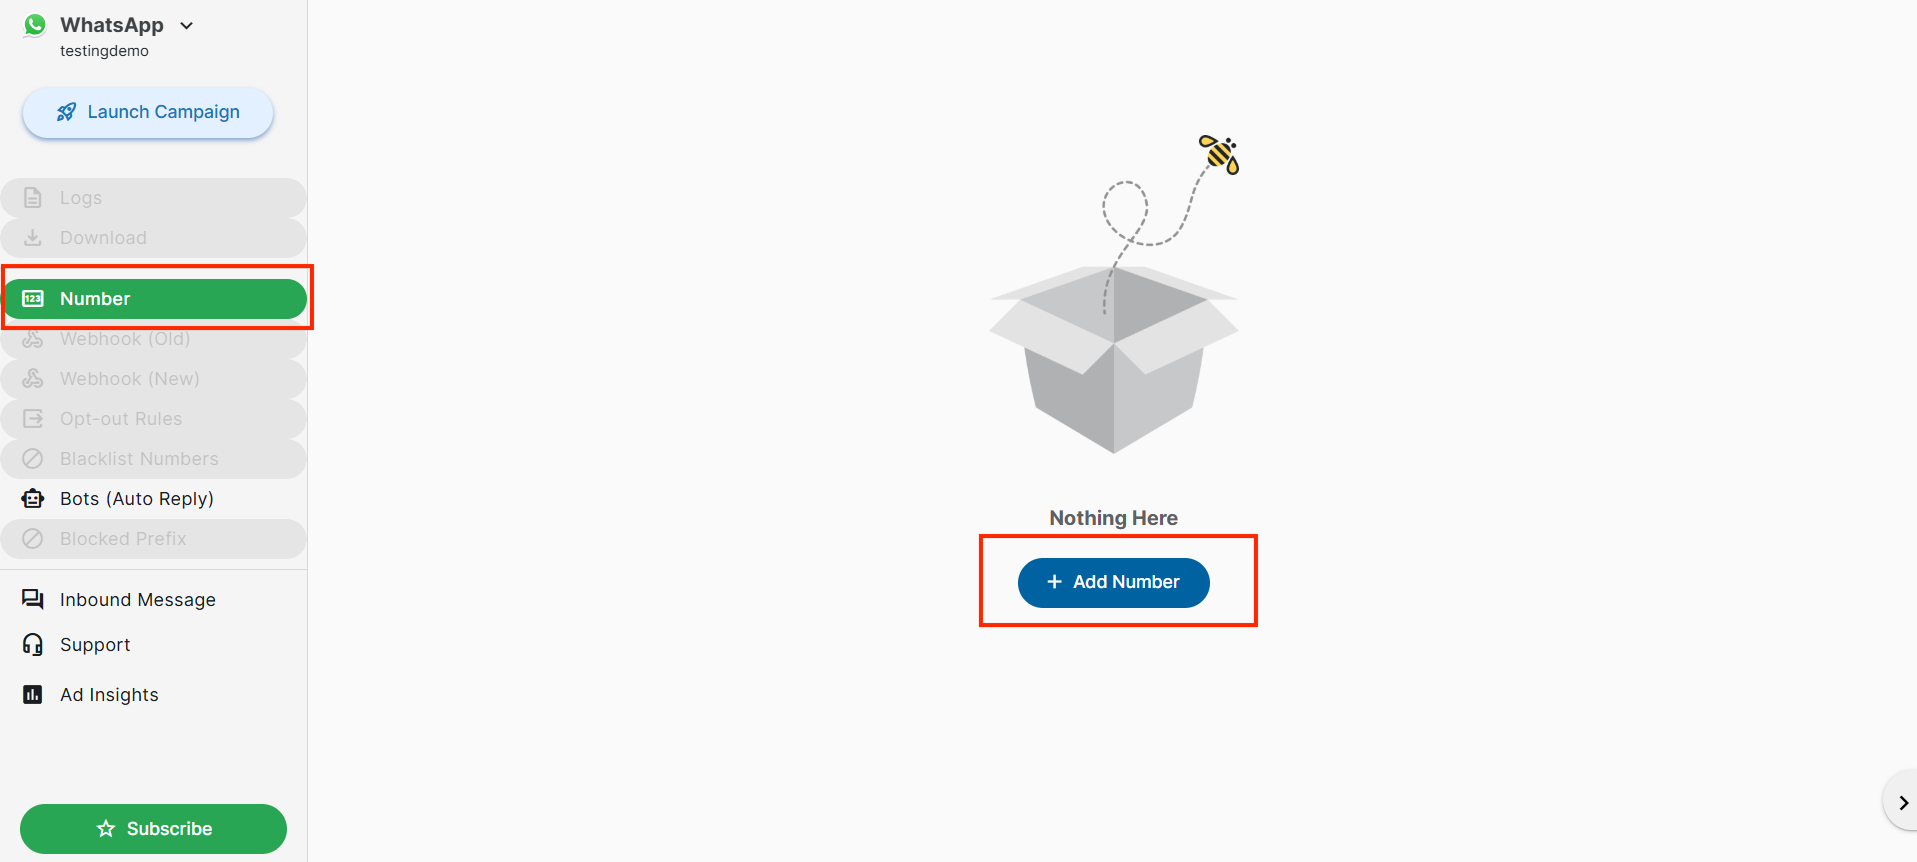
Copy the generated WhatsApp Number and paste it into the plugin settings.
Step 3: Create a WhatsApp Notification Template
Watch the following video to learn how to create a WhatsApp notification template.
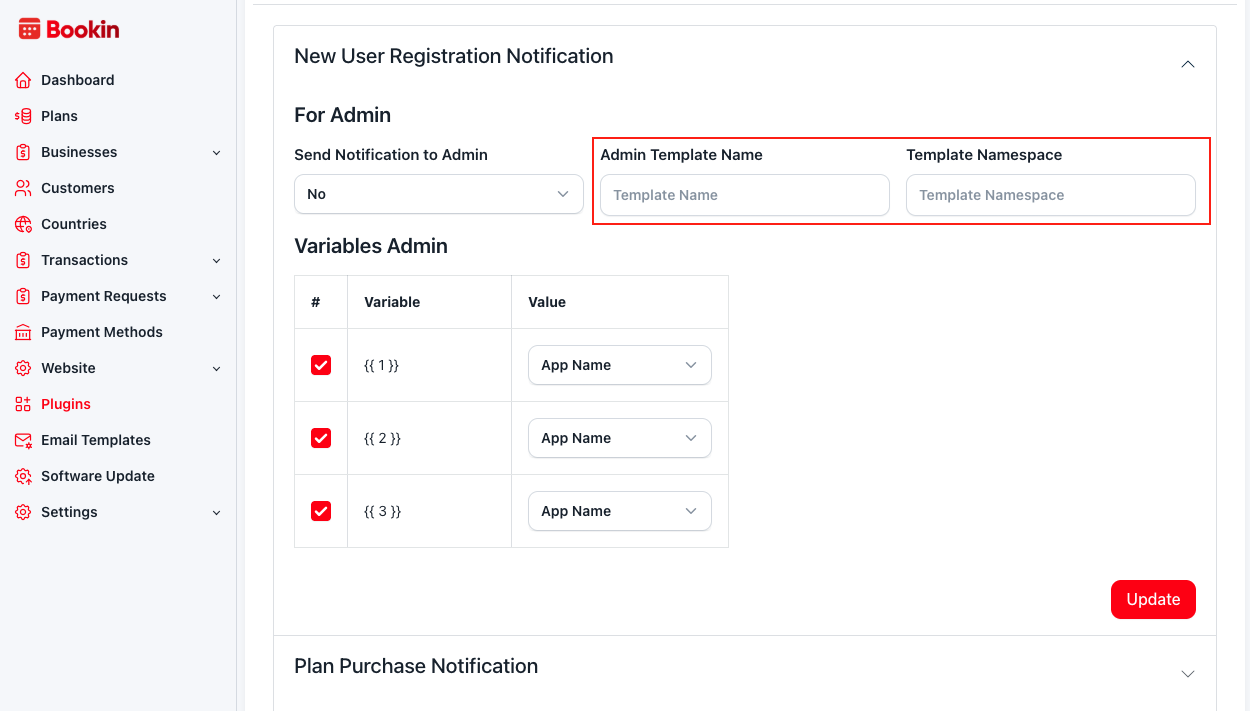
After creating the template, copy the following details:
- Template Name
- Template Namespace
Paste them into the plugin settings.
Note
If your WhatsApp template contains variables, enable the corresponding variable checkbox in the plugin settings and map it to the appropriate value.
For example, if your template contains
1, enable the1option in the plugin dashboard and select the value that should replace it.