Appearance
MSG91 Whatsapp Notification Configuration
Follow these steps to configure the MSG91 Whatsapp Notification plugin and enable Whatsapp notifications.
1. Create an Auth Key
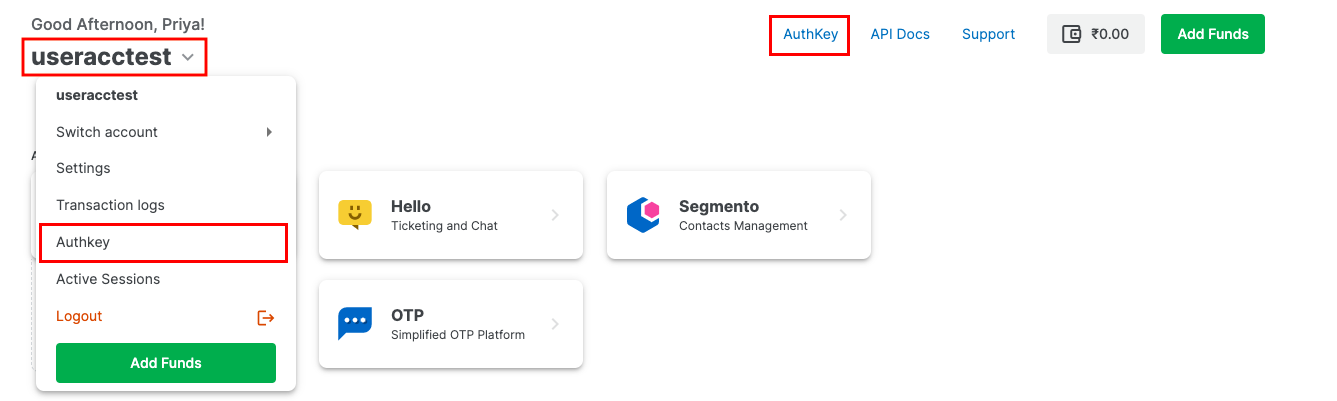
Log in to your MSG91 account. Select the Authkey option from the top row, or click the user dropdown and then select Authkey.
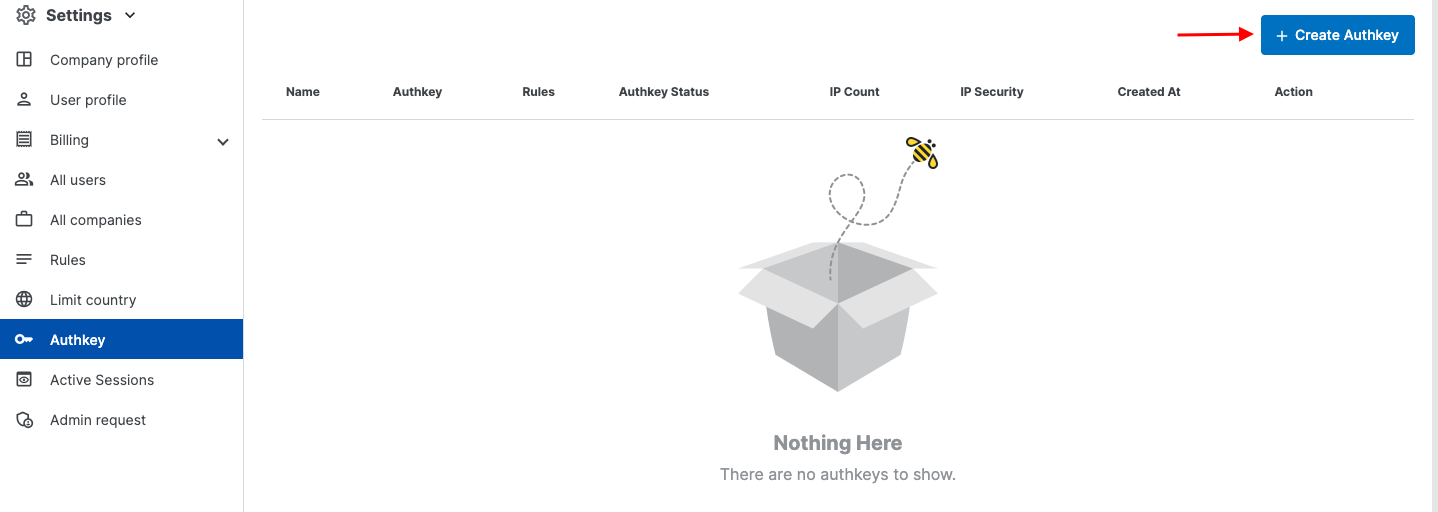
Click on the Create New option to create an Authkey.
Fill in the required details for your Authkey:
- Authkey Name: Name the Authkey as per your preference. Avoid special characters.
- Use Case: Select the use case in the "Where are you integrating" field or create a new one.
- Rule Selection: Choose the rule from the Rules dropdown. Rules define which services can use this Authkey. You can also create a new rule in the Settings → Rules section.
- IP Security: IP security is on by default. You can disable it if needed. Whitelist your IPs in the Whitelist IPs field. Company whitelisted IPs are visible at the bottom.
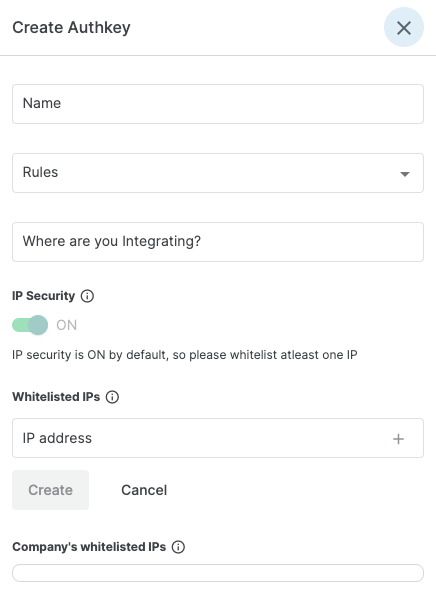
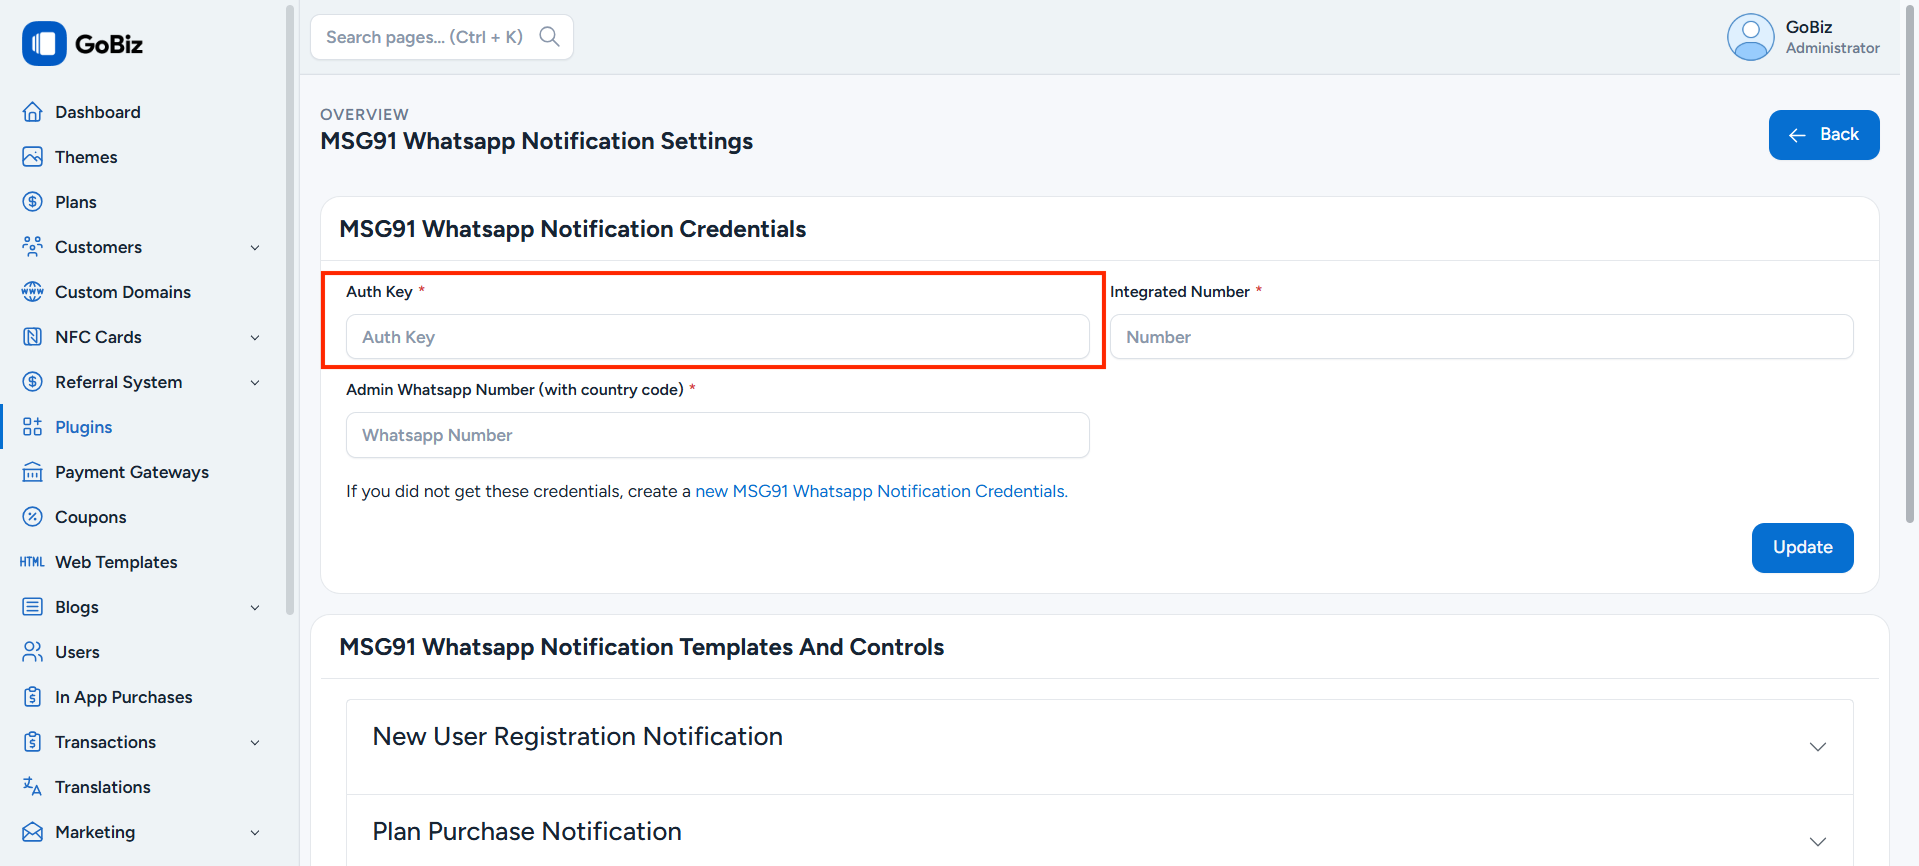
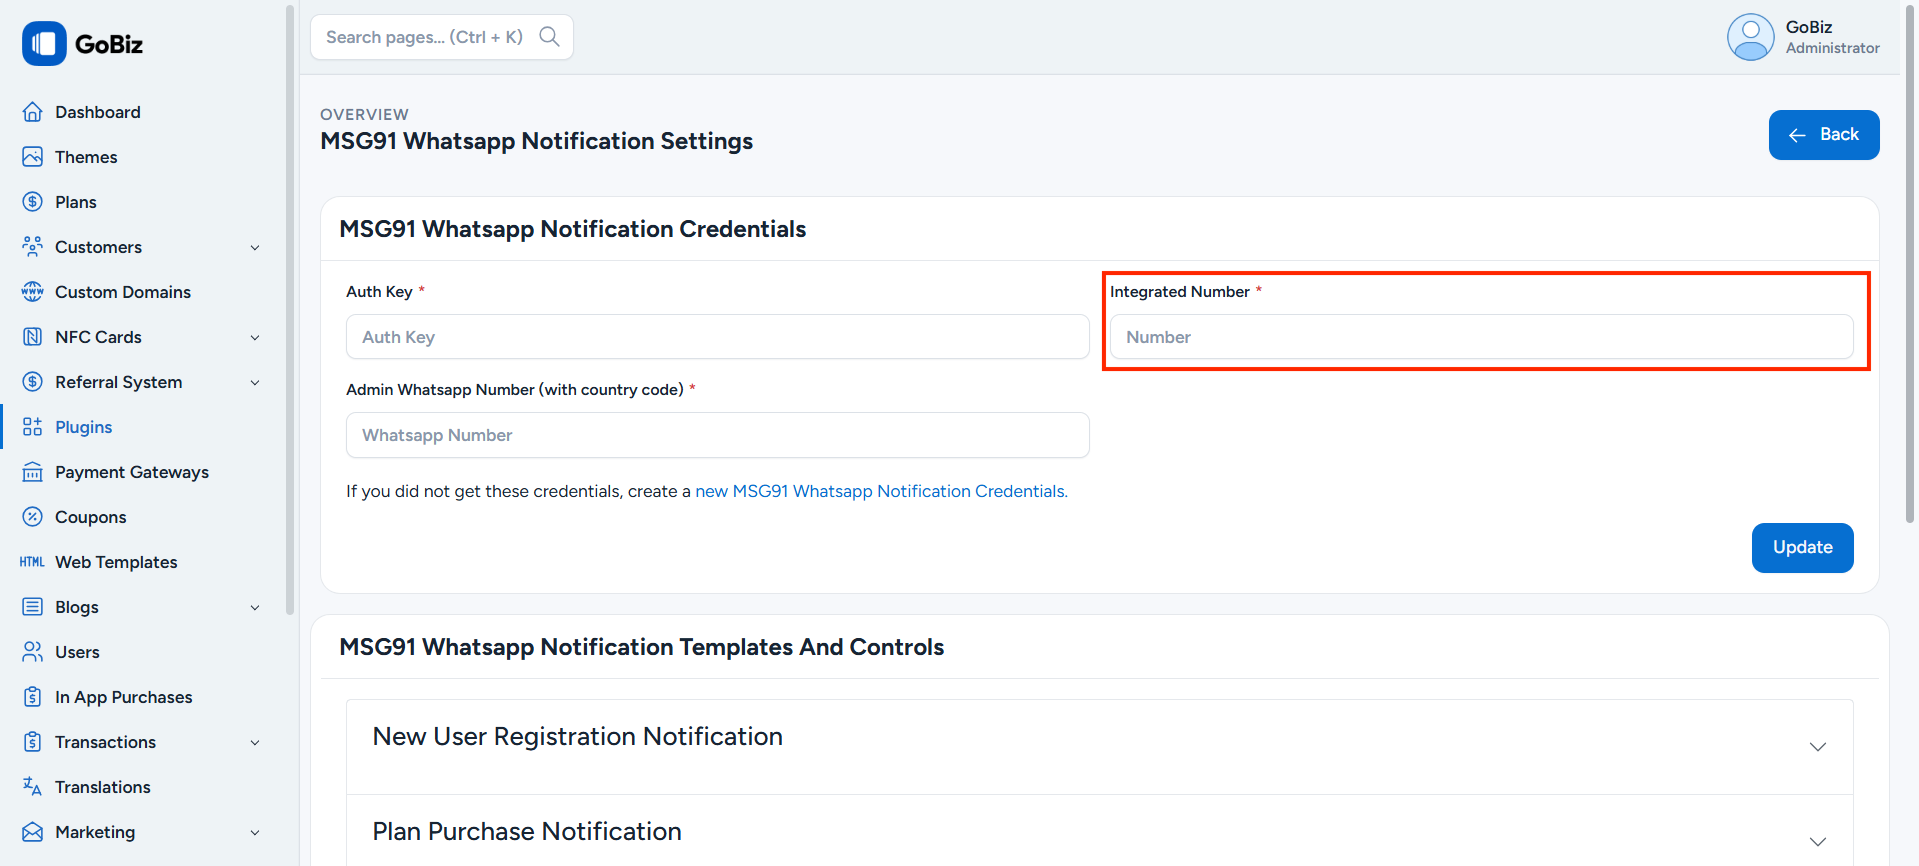
Once done, click Create. Then Copy the generated Auth Key and paste it into the plugin dashboard.
2. How to Create MSG91 Whatsapp Number
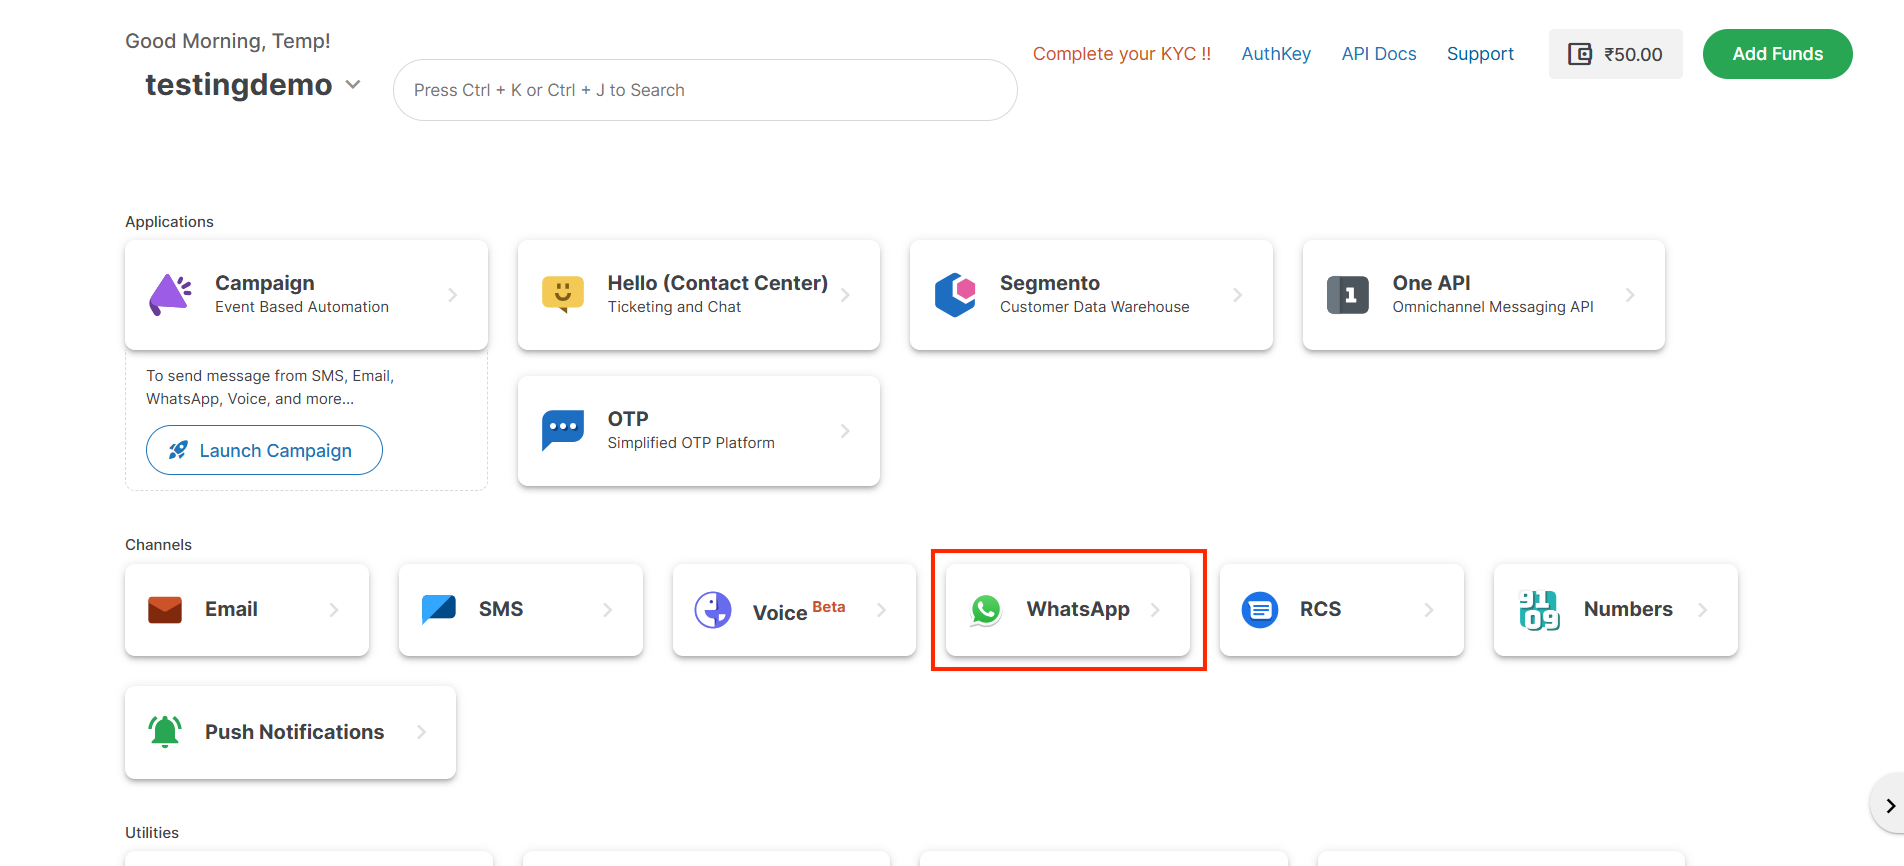
Select the Whatsapp icon in MSG91 Dashboard.
Click the Add Number button to create a Whatsapp Number.
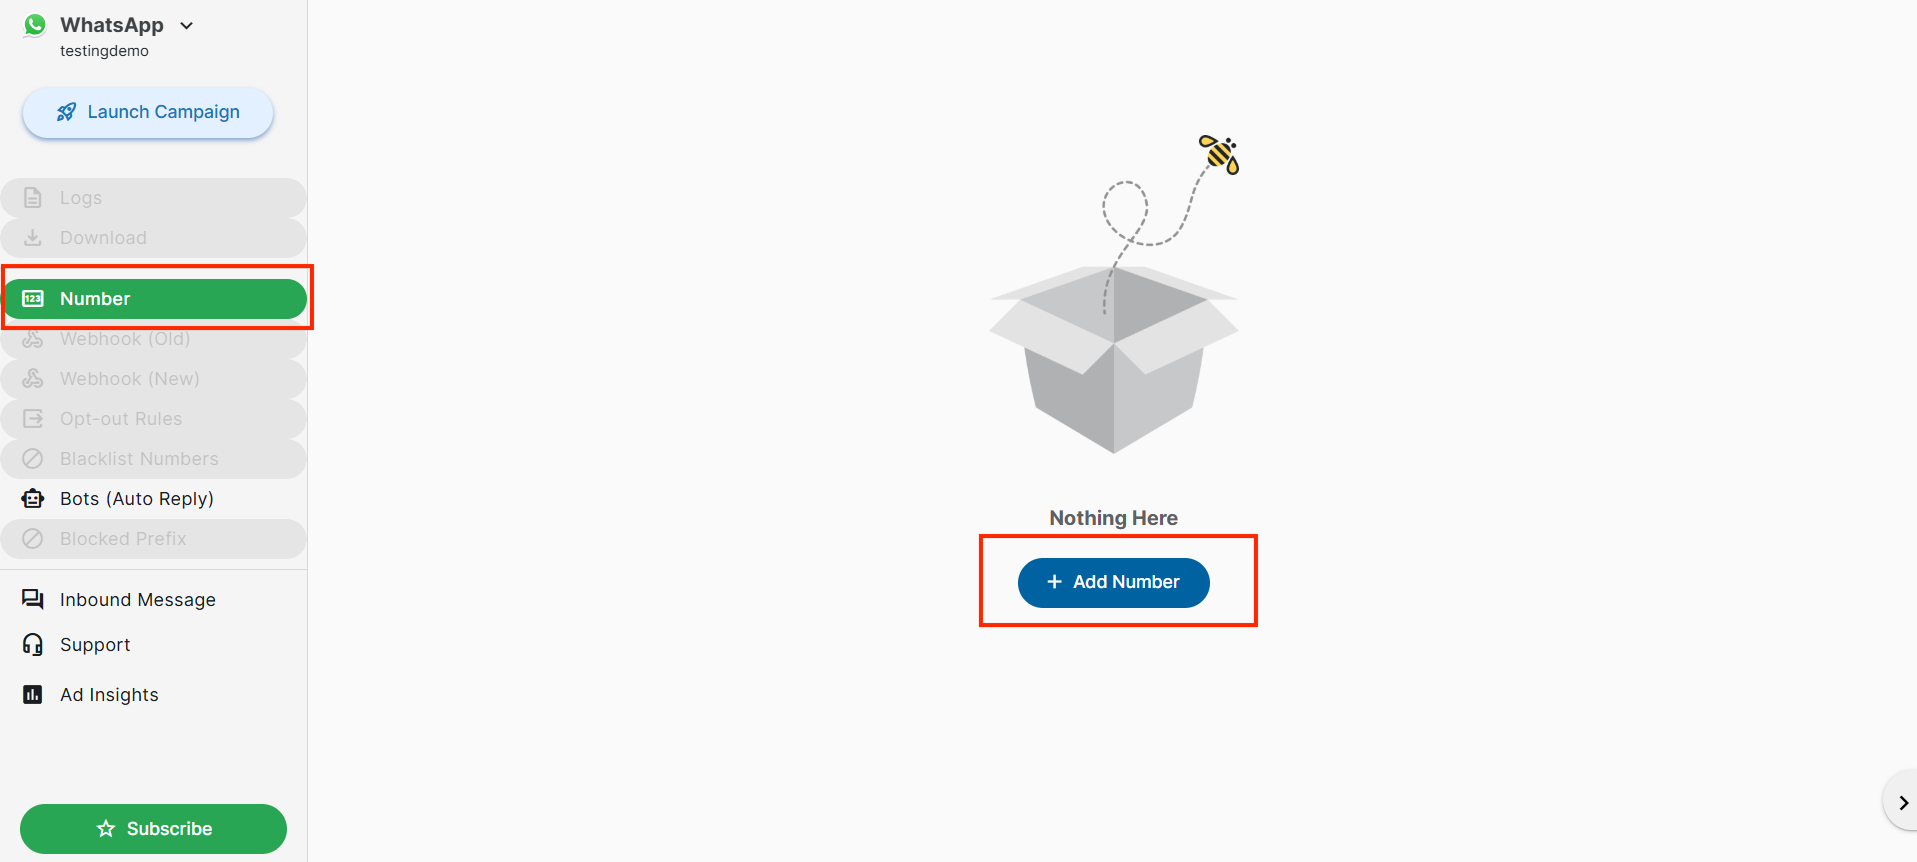
Paste the Whatsapp Number in your plugin Dashboard.
3. How to Create Whatsapp Notification Template
Once you created the template, Copy the Template Name, Template Namespace then paste it in the plugin Dashboard.
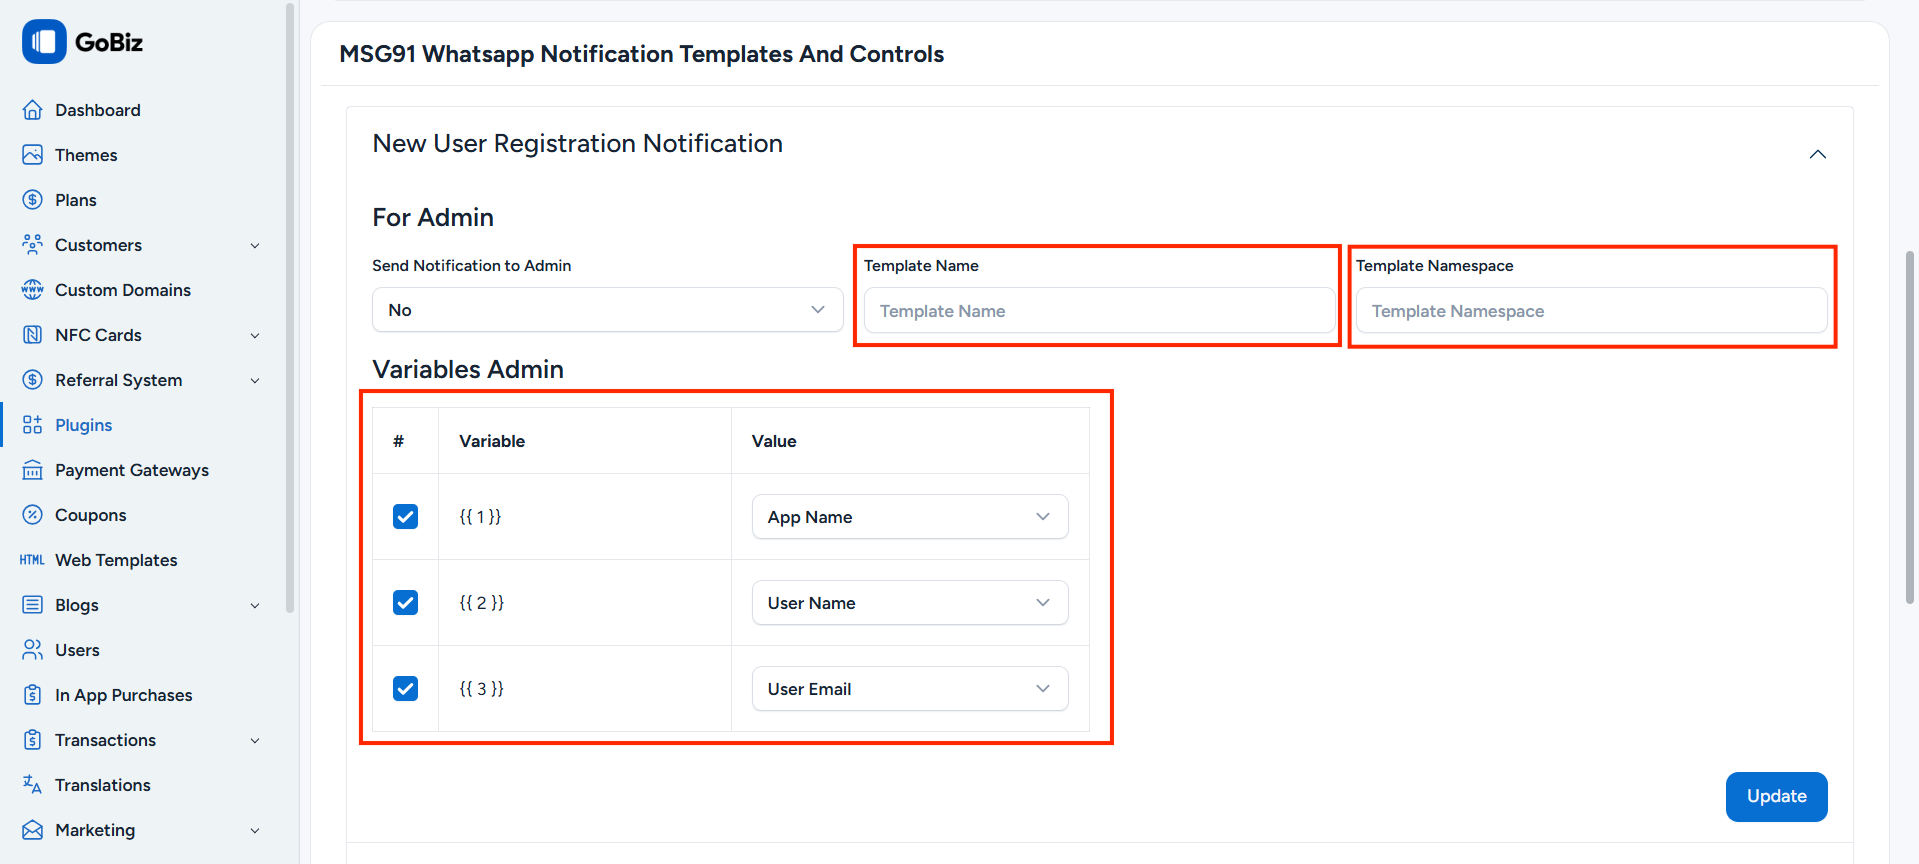
Note: If you are using variables in your template, select the checkbox and choose the corresponding value.
Example: If you are using {{ 1 }} in your template, check {{ 1 }} in the plugin dashboard and select its value.