Appearance
Setting Up Cloudflare DNS Records and Page Rules
1. Setting Up Cloudflare DNS Records
Log In to Cloudflare
- Visit the Cloudflare dashboard and log in to your account.
Select Your Domain
- From the dashboard, select the domain you want to configure.
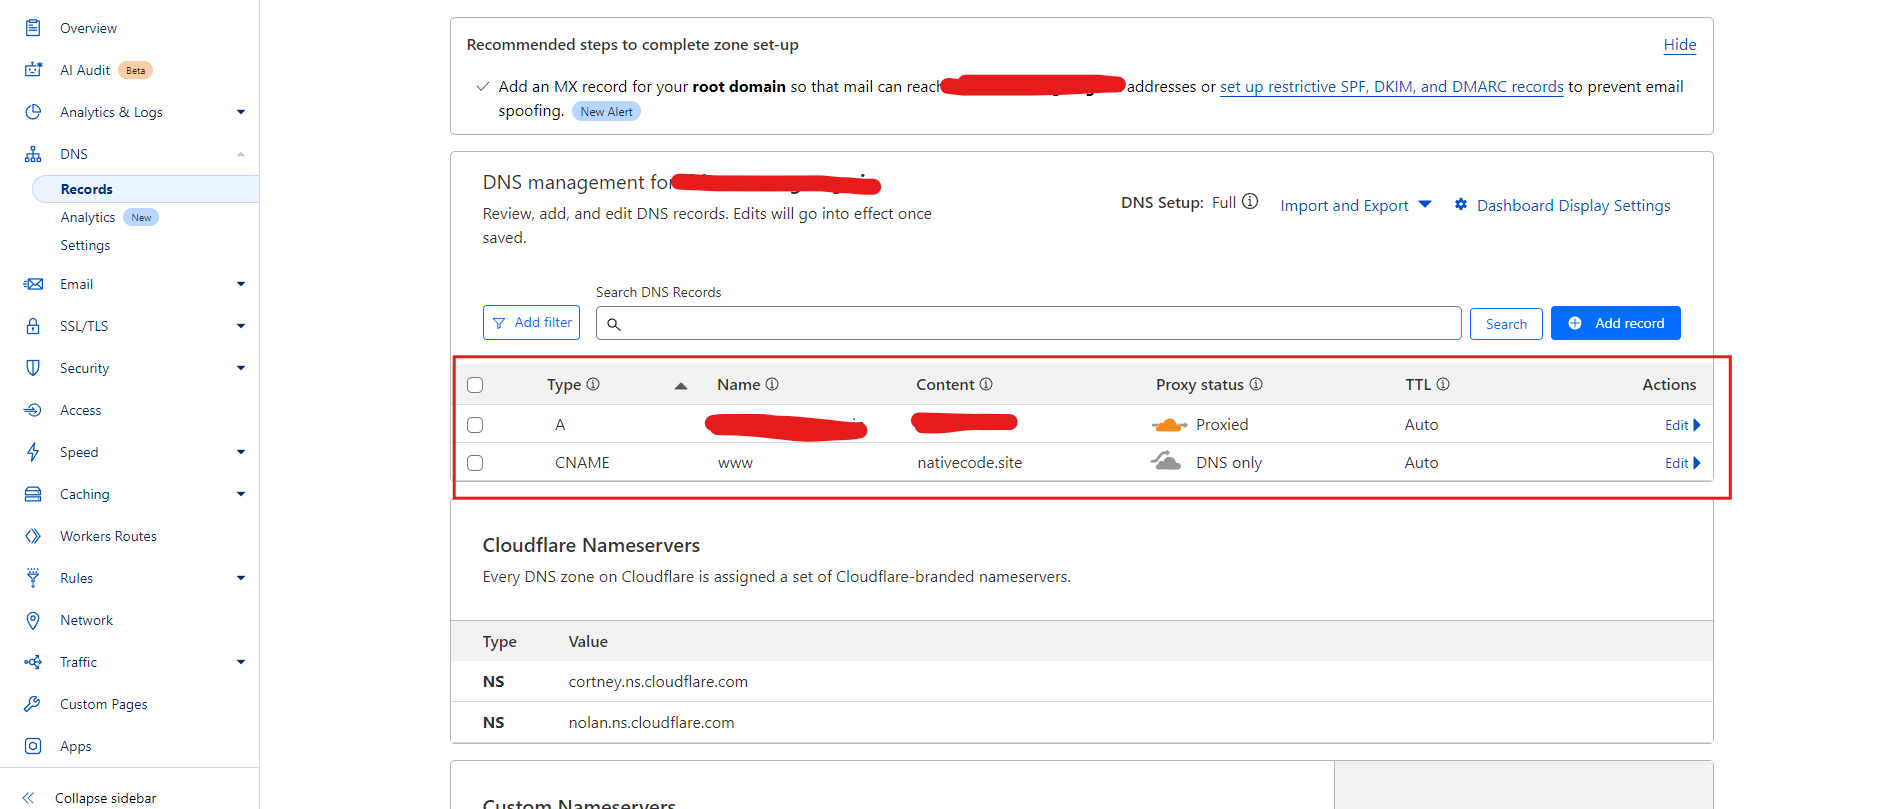
Add DNS Records
- Go to the DNS tab and click Add Record to add the necessary DNS entries.
| Type | Name | IPv4 Address / Target | Proxy Status | TTL |
|---|---|---|---|---|
| A | @ (root domain) | Enter your server’s IP address | Enabled (orange cloud icon) | Auto |
| CNAME | www | your-target-domain.com | Disabled (gray cloud icon) | Auto |
- Save each record after entering the details.
DNS Record Example:
2. Creating Page Rules
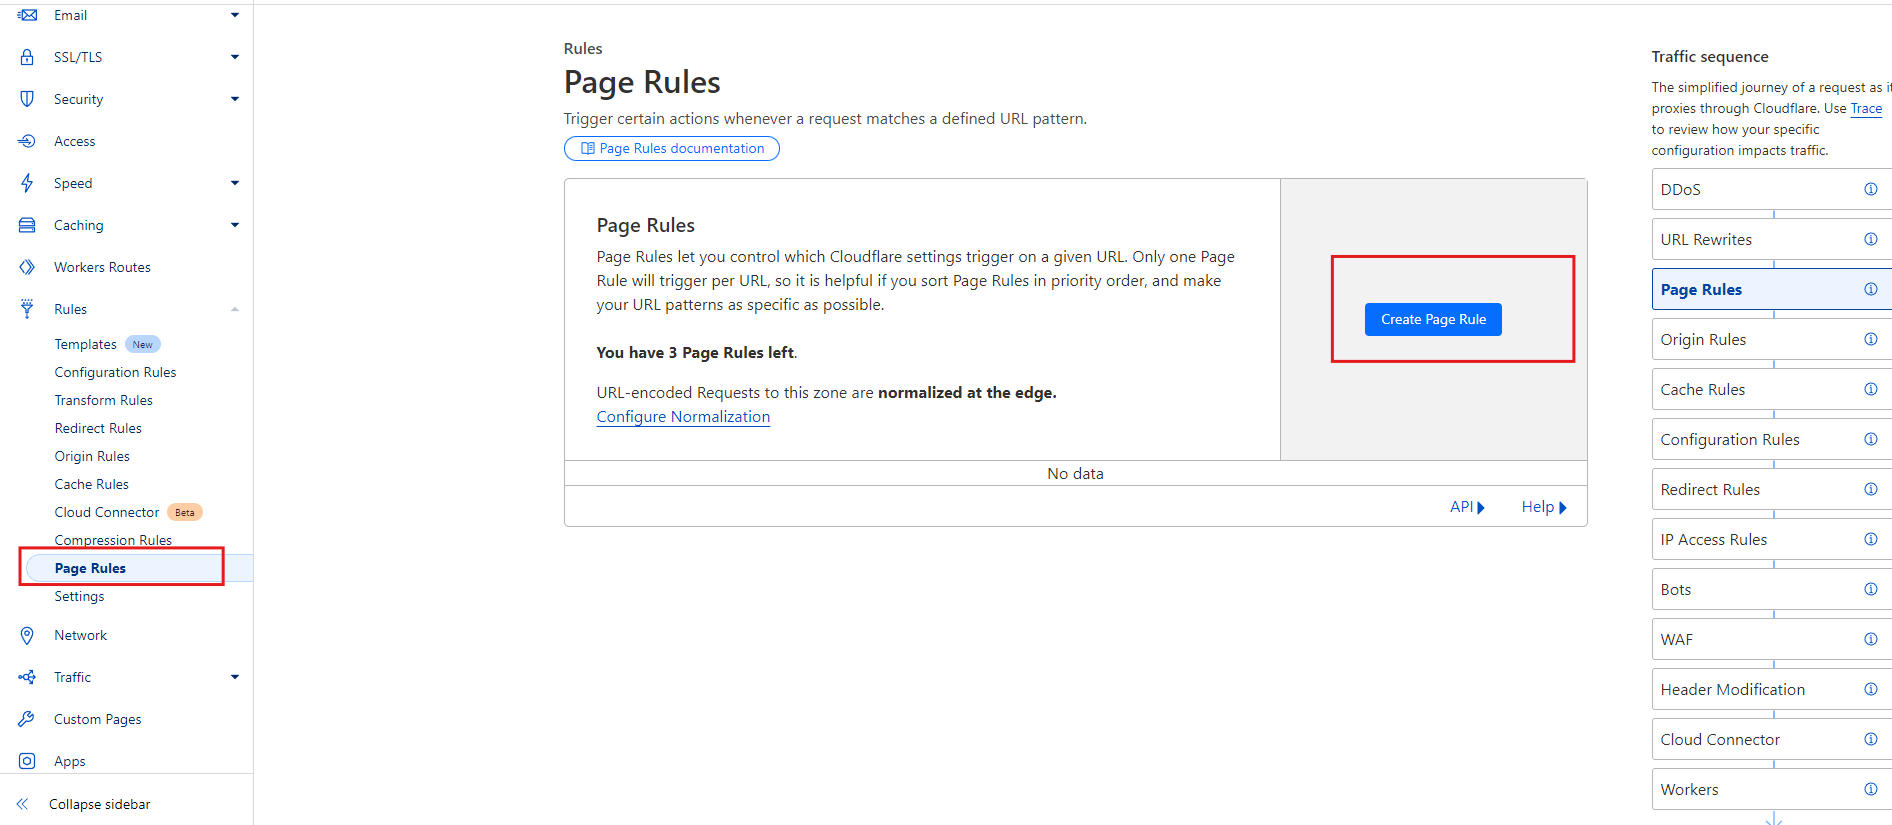
Navigate to Page Rules
- Go to the Page Rules tab on your domain's dashboard.
Add a New Page Rule
- Click Create Page Rule and configure rules as needed.
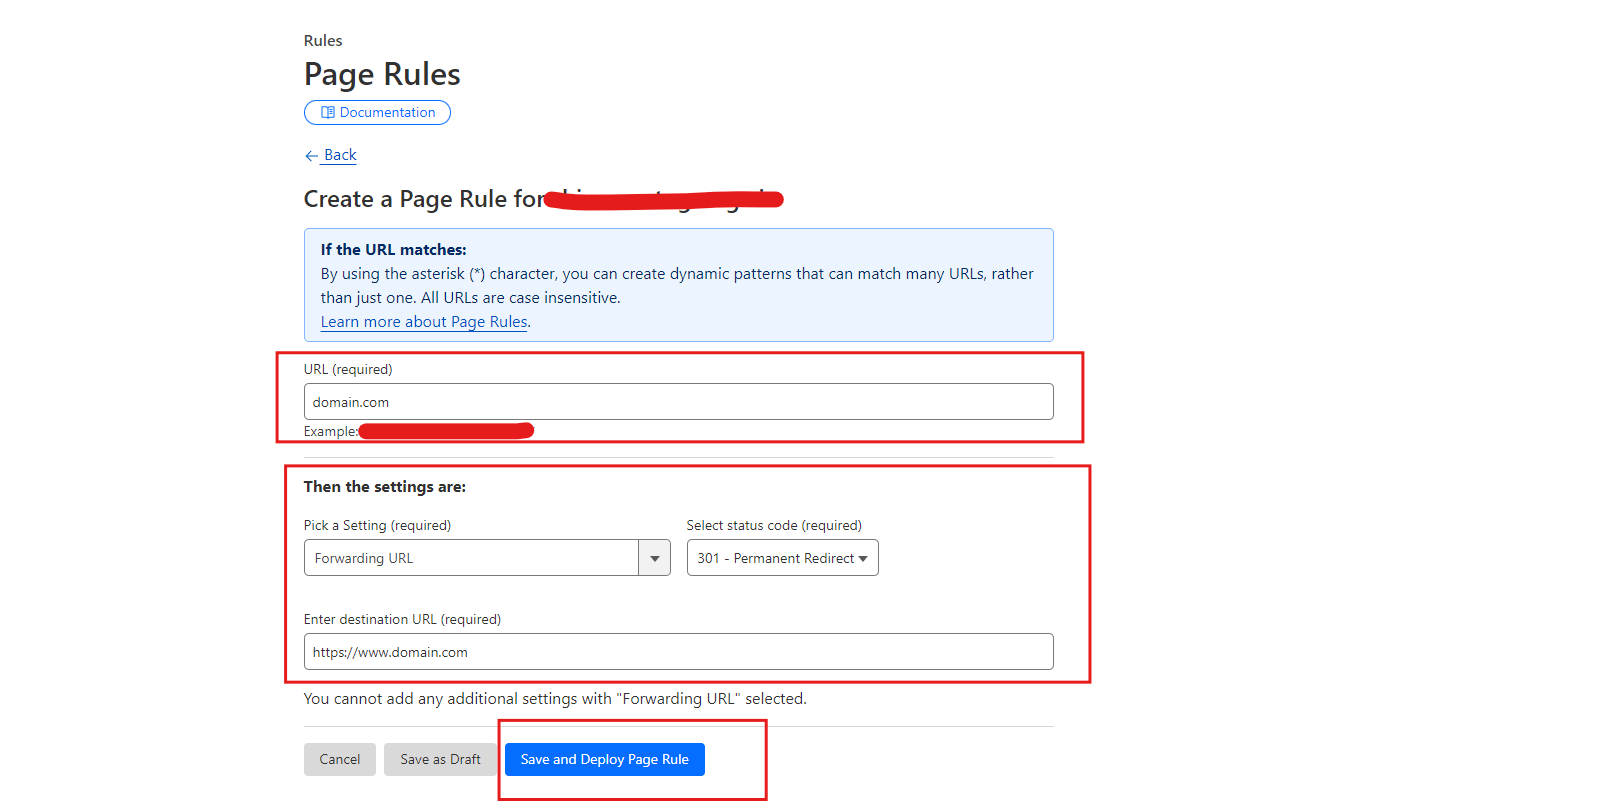
Example Page Rules:
Example Page Rule Configurations:
| URL | Setting | Select | Destination URL |
|---|---|---|---|
| example.com | Forwarding URL | 301 Permanent Redirect | https://www.example.com |
Example Redirect:
Always Use HTTPS
| URL | Setting |
|---|---|
| example.com/ | Always Use HTTPS |
Click Save and Deploy to activate the rule.
Tip: Page rules are applied in order from top to bottom. Arrange them carefully based on priority. Use wildcards (*) for broader rule coverage, like *example.com/* to cover all pages.